Posts: 3,642
Threads: 360
Joined: May 2025
All weekend? Sounds like more of a job than that to me.
Best of luck. There's a lot of satisfaction in doing something like that yourself.
Posts: 17,885
Threads: 2,316
Joined: May 2025
Reputation:
0
Our bathroom is that size. It took a weekend + the week + multiple trips to the Home Depot. Not that there was that much work. But there were a lot of "surprises" that needed to be addressed that were not in my original scope.
Posts: 6,277
Threads: 327
Joined: Aug 2015
Reputation:
0
Want to come do mine when you're done? I have two that need to be redone!
DM
Posts: 21,885
Threads: 1,109
Joined: Mar 2024
Reputation:
0
[quote bazookaman]Our bathroom is that size. It took a weekend + the week + multiple trips to the Home Depot. Not that there was that much work. But there were a lot of "surprises" that needed to be addressed that were not in my original scope.
We have spent the last several weekends going to Home Depot, Lowes, Expo design center, The Great Indoors (Sears) as well as our local Habitat for Humanity "ReStore" getting everything we should need. I forsee at least one trip to HD for some plumbing stuff, but luckily that is only 3 miles from the house.
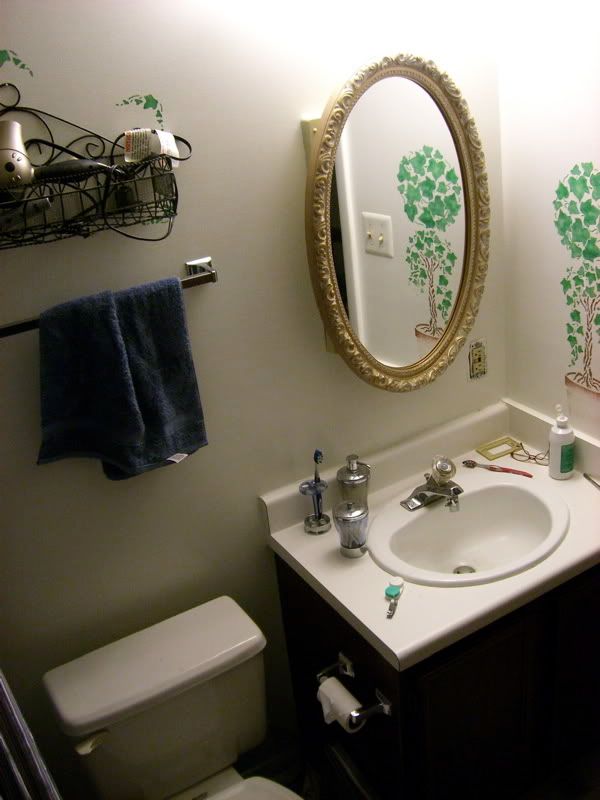
I already have the medicine cabinet / mirror off and can see that the new one is about 4 inches taller but the same width, so I will have to cut the drywall up a few inches in between the studs and move the horizontal block up to fit, but that won't be too hard. Finally get to use my reciprocating saw! Interesting note- The stud wall behind the sink is actually made up of 2x6" studs, not 2x4. Must be a load bearing wall, although it is on the top floor... whatever.
Posts: 38
Threads: 4
Joined: Aug 2014
Reputation:
0
2" x 6" is standard wall thickness behind bath wall for running pipe and vent stack.
Typically 2 items that get overlooked are from the floor installation:
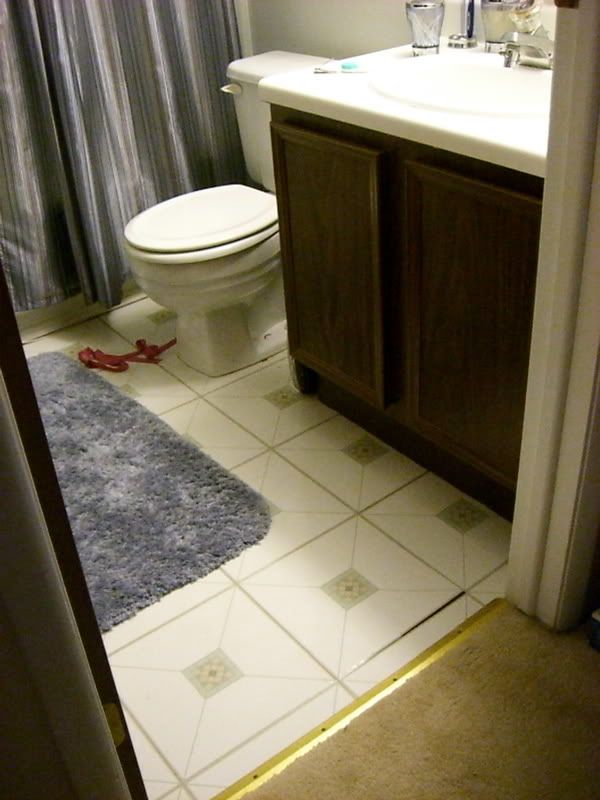
1. the transition from the new floor out to exisiting area - I noticed you'll be going into a carpeted area and will probably need a new strip after you mangle the existing strip by pulling it off.
2. if you go with a thicker flooring product, you may need an extension ring for the commode
Good luck and wear your safety glasses with that saw!
Posts: 50,838
Threads: 670
Joined: Mar 2024
You can do mine when you're done, too.
Mine goes back to the thirties, so nothing today is dimensionally the same. I had to replace the toilet and it sits two inches away from the wall and I never pulled the old lag bolts out of the wall that held the tank to the wall. Cast iron DWV. workaround.
Had to replace the sink faucet and they don't make one to fit my sink holes so I just put the new sink top on top of the old one. The old sink was custom built to fit in a really odd space.
After seeing my bathroom, no one asks me to give them a hand. :-)
No one likes temporary as a style. :-)
I do glue the tiles that pop out back in.
Posts: 644
Threads: 65
Joined: May 2014
Reputation:
0
"The bathtub stays for now"
If you don't do it now you never will.
Good luck this weekend!
Posts: 2,534
Threads: 144
Joined: May 2025
I did the same thing, plus the tub, plus a rewire to a separate 20A GFCI (all my bathrooms were on a shared 15A GFCI). Unfortunately it took me 6 months.
Posts: 21,885
Threads: 1,109
Joined: Mar 2024
Reputation:
0
[quote bukowski]2" x 6" is standard wall thickness behind bath wall for running pipe and vent stack.
Typically 2 items that get overlooked are from the floor installation:
1. the transition from the new floor out to exisiting area - I noticed you'll be going into a carpeted area and will probably need a new strip after you mangle the existing strip by pulling it off.
2. if you go with a thicker flooring product, you may need an extension ring for the commode
Good luck and wear your safety glasses with that saw!
Already bought the new threshold strips, we were switching from the bronze to a chrome/silver theme anyway. I am also actually taking the old linoleum tiles off the floor first instead of just putting more on top- a shortcut many people seem to take that I am not willing to do. I already tested pulling up a few tiles and they come off very easily with a short pry bar or putty knife. Hopefully I can somehow avoid having to move the toilet at all, but I did buy a new wax ring in case it needs to come up for the tiles to get underneath.
Didn't know which kind of wax ring to buy though. There were four kinds- regular, reg. with reinforcement, reg. with flange, and reinforced with flange. It was a crap shoot- so I got the regular with flange. If that's not the right one HD is just down the way.
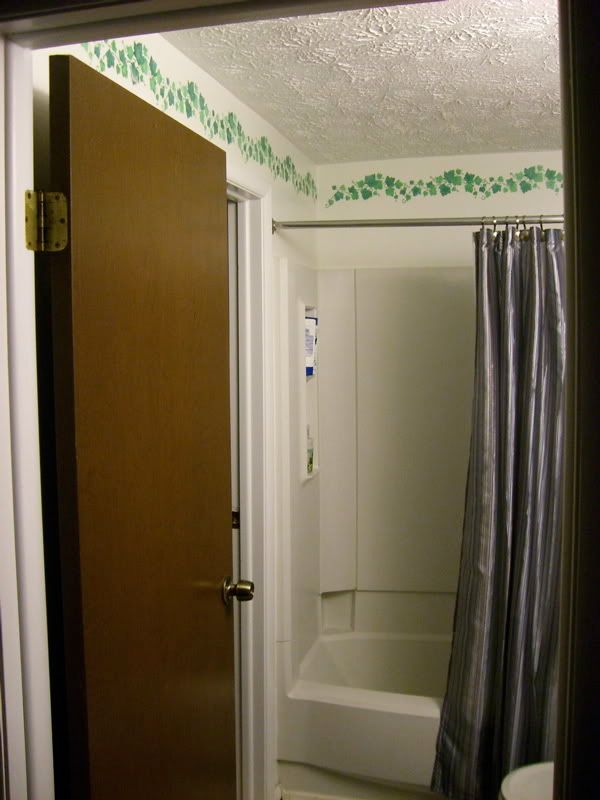
I just finished washing all of those danged green leaves off the wall. Cut the counter top caulk away from the wall, removed all the hardware from the walls and put spackle in all the holes. Let that dry while I unhook the sink, then I can do some sanding and prime the walls. Don't really want to take the light fixture off yet (since it's the only source of light in the room) but I know the new one has a smaller footprint so it will need to be painted sometime.
Thanks for the tips thusfar.